How to Reduce Vibration in Bike Panniers and Protect Fragile Items: Practical Padding, Packing & Mounting Tips
Introduction
Riding a bicycle equipped with rear panniers offers unparalleled convenience, yet the constant impact of road irregularities can transmit vibration directly to the contents of the bags. Those vibrations are the primary cause of cracked electronics, bruised lenses, and broken souvenirs. This guide explains how to minimise that vibration, how to pack delicate items securely, and which accessories provide the most effective protection. By the end of the article, the reader will be able to transform a standard pannier setup into a resilient transport system suitable for daily commutes, mountain adventures, and long‑distance tours.
The techniques described are grounded in physics – reducing the amplitude of movement, isolating fragile objects, and securing load distribution – yet they are presented in plain language so that an intermediate cyclist can implement them without specialised tools. The recommendations include two Amazon products that act as tools, but the guide remains valuable even if the reader chooses alternative solutions.
What You'll Need
- A pair of waterproof, expandable rear panniers – for example, NDakter 35L Waterproof Bike Panniers.
- Universal shoulder pads or strap cushions – such as ZINZ Universal Bag Shoulder Pads – to dampen strap vibration when the bag is carried by hand.
- Memory‑foam inserts or thin EVA sheets (available at most sporting goods stores).
- Velcro straps, zip ties, and soft cloth pouches.
- Tools for basic adjustments: a small screwdriver, a needle‑nose plier, and a measuring tape.
Step‑by‑Step Instructions
1. Choose the Right Pannier and Verify Compatibility
The foundation of vibration reduction begins with a well‑designed bag. The NDakter 35L Waterproof Bike Panniers provide 25–35 L of expandable capacity, a 900D TPU‑coated Oxford fabric exterior, and a waterproof PVC inner layer. Their reinforced stitching and thickened PVC interior resist abrasion and prevent the bag from flexing excessively under load. The product carries a 4.3‑star rating from 173 reviews and is priced at $27.99, making it an affordable yet robust choice for commuters and mountain cyclists alike.
Before installation, confirm that your bike’s rear rack is less than 6 inches wide – the pannier specification states it is only compatible with racks of that width. Measuring the rack ensures a secure fit and prevents the bag from shifting, which would otherwise amplify vibration.
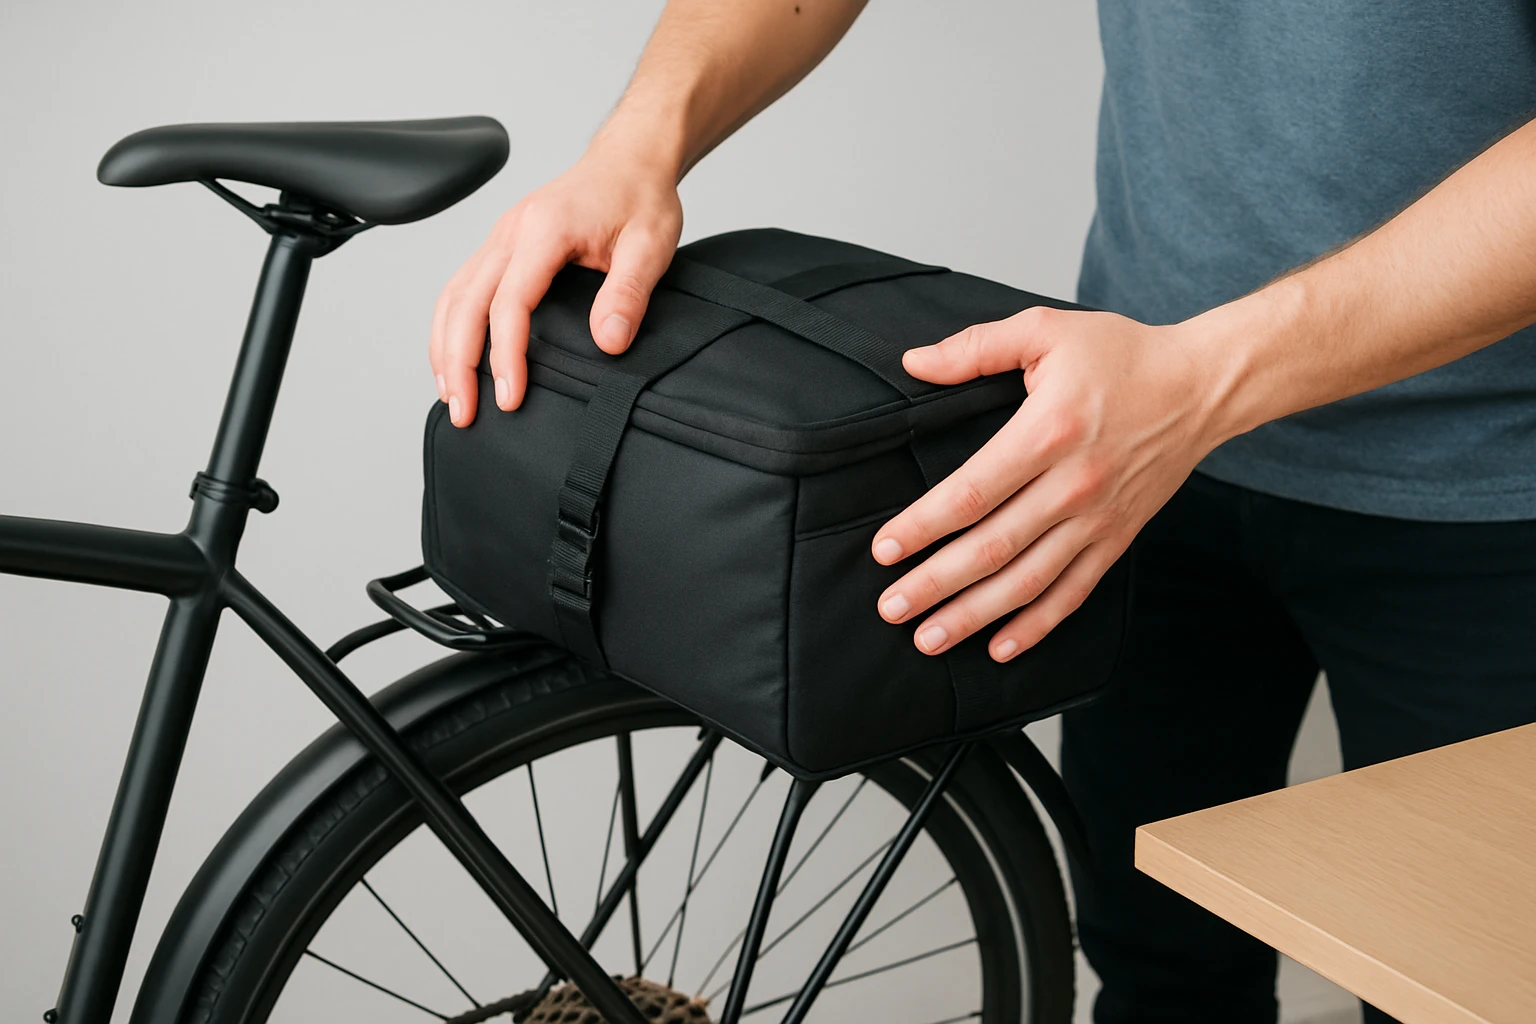
Once compatibility is confirmed, attach the pannier using the three movable buckles and two side straps. The design allows a quick 30‑second installation, but it is advisable to double‑check that each buckle clicks into place and that the side straps are tightened evenly on both sides. Uneven tension can cause the bag to tilt, creating a lever effect that magnifies road shock.
2. Add a Padding Layer Inside the Pannier
Even the most durable fabric cannot fully absorb high‑frequency impacts. Introducing a thin, resilient padding layer between the bag wall and the contents creates a buffer zone. Memory‑foam inserts, cut to the shape of the pannier’s interior, are ideal because they conform to irregular objects while dissipating energy.
Place a 5‑mm EVA sheet or a pre‑cut foam panel at the bottom of the bag. This layer reduces the transmission of vertical shocks that occur when the rear wheel encounters a pothole. For items that are especially fragile – such as a camera or a laptop – add a second foam sheet on top of the first, creating a sandwich effect.
Secure the foam with a few zip ties or short Velcro straps to prevent it from sliding when the bag is loaded. The NDakter panniers already feature interior loops that can hold these straps, ensuring the padding remains in place during aggressive riding.
3. Pack Items Using the “Center‑of‑Gravity” Method
Proper packing is as important as the hardware itself. Position the heaviest items – typically a water bottle, power bank, or spare tube – low and near the centre of the pannier. This lowers the overall centre of gravity, reducing sway and the tendency of the bag to bounce.
Surround the central mass with softer items such as clothing, which act as natural shock absorbers. Place delicate electronics in soft cloth pouches, then nest those pouches inside the foam sandwich created in the previous step. The reflective strips on the NDakter panniers also improve visibility, allowing you to monitor the bag’s position without removing it.
Finally, fill any remaining voids with rolled socks or small towels. Empty space acts like a spring, amplifying vibration; a fully packed bag distributes forces evenly across the entire structure.
4. Secure the Load with Adjustable Straps
Even with careful packing, items can shift during a long ride. The pannier’s built‑in side straps are designed for load‑bearing, but adding supplemental Velcro straps around the bag’s perimeter provides an extra level of security. Loop a strap around the bag’s outer wall, then fasten it to the internal loops near the foam inserts. This creates a semi‑rigid cage that limits internal movement.
When tightening straps, use a “tight‑but‑not‑tight” approach: the strap should be firm enough to prevent sliding, yet flexible enough to allow the bag to flex slightly with the frame. Over‑tightening can cause the fabric to stretch, eventually reducing waterproof performance.
For riders who frequently switch between carrying the bag on the bike and carrying it by hand, consider attaching a removable handle loop using a short piece of webbing. This gives a comfortable hand‑hold without compromising the bag’s rear‑rack mounting.
5. Apply Shoulder Pads to Reduce Hand‑Held Vibration
If you need to carry the pannier off the bike – for example, when loading groceries into a car – the bag’s straps can transmit vibration directly to your shoulder. The ZINZ Universal Bag Shoulder Pads are 33 cm long, 8 cm wide, and 2.5 cm thick, providing a generous cushioning surface.
These pads feature a memory‑foam core wrapped in breathable neoprene, which absorbs shock and wicks away sweat. The anti‑slip design ensures the pad stays in place even when the bag is heavily loaded, and the Velcro adjustment allows a custom fit for various strap widths.
At $19.99 with a 4.6‑star rating from 694 reviews, the pads represent a cost‑effective upgrade for anyone who frequently lifts the pannier. Install them by sliding the pad over the strap, aligning the Velcro strips, and tightening until the pad sits flush against the shoulder. The result is a significant reduction in perceived vibration and a more comfortable carrying experience.
6. Test and Fine‑Tune the System
After the bag is fully assembled, conduct a short test ride on a familiar route that includes a few bumps. Pay attention to any rattling noises, which indicate loose components. If you hear movement, re‑tighten the side straps or add an extra zip tie to the foam inserts.
Observe how the bag behaves when you brake hard or ride over a curb. Excessive swing suggests the centre of gravity is too high; redistribute weight by moving heavier items lower. If the bag still feels unstable, consider adding a second set of shoulder pads on the opposite side to balance the load when carrying it manually.
Finally, inspect the waterproof seals after a rainy ride. The NDakter panniers’ PVC layer should remain dry; if moisture is detected, re‑seal the zippers with a waterproof tape or apply a silicone sealant to the seam.
Tips & Pro Tips
- Use soft‑sided pouches for electronics. A thin neoprene sleeve adds an extra layer of protection without adding bulk.
- Rotate foam inserts. Over time, foam can compress in high‑stress areas; swapping the position of inserts restores even cushioning.
- Check reflective strips regularly. Dirt and grime reduce visibility; clean them with a mild soap and water solution.
- Consider a dual‑mount system. Some riders install a second, smaller front pannier to share the load, further lowering vibration on the rear bag.
- Maintain tire pressure. Properly inflated tires absorb a large portion of road shock before it reaches the pannier.
Troubleshooting
| Problem | Possible Cause | Solution |
|---|---|---|
| Bag rattles loudly | Loose side straps or empty interior space | Tighten straps, add filler material such as socks or foam |
| Water leaks into bag | Damaged zipper or compromised PVC layer | Apply waterproof tape to zipper, replace damaged section, or use a separate dry bag inside |
| Shoulder pads slip | Insufficient Velcro contact or worn surface | Clean Velcro, replace worn pads, or add a thin silicone strip for extra grip |
Conclusion
Reducing vibration in bike panniers and protecting fragile items is achievable through a combination of proper equipment, strategic packing, and diligent maintenance. By selecting a high‑quality bag such as the NDakter 35L Waterproof Bike Panniers, adding cushioning layers, securing loads with adjustable straps, and employing the ZINZ Universal Bag Shoulder Pads for hand‑carried situations, cyclists can dramatically lower the risk of damage to sensitive equipment. Regular testing and fine‑tuning ensure the system remains effective over time, while simple maintenance habits keep the bag waterproof and visible. Implement these steps on the next ride and experience a smoother, safer journey for both you and your gear.
Products Mentioned in This Guide
Frequently Asked Questions
What padding materials are most effective at reducing vibration in bike panniers?
Foam inserts, neoprene sleeves, and inflatable travel bags absorb shocks and isolate fragile items from road vibrations.
How should fragile items be packed to prevent damage while cycling?
Wrap each item in bubble wrap or soft cloth, place them in the center of the pannier, and surround them with padding to create a cushion on all sides.
Does the mounting position of a pannier influence vibration levels?
Yes, mounting the pannier lower and closer to the bike’s centerline reduces leverage and dampens vibrations compared to a high, outward position.
Which accessories are recommended for vibration damping in panniers?
Products like anti‑vibration foam inserts and strap‑tightening buckles (e.g., the Amazon‑listed “Pannier Shock‑Absorbing Insert” and “Adjustable Load‑Secure Straps”) are proven to cut vibration.
How can I achieve balanced load distribution to minimize shaking?
Distribute weight evenly across both panniers, keep heavier items near the bike’s frame, and avoid overfilling to maintain a stable center of gravity.