How to Safely Mount a Front Basket on a Suspension Fork: Step‑by‑Step Bike Installation Guide
Introduction
Mounting a front basket on a suspension fork can enhance the utility of a bicycle without compromising ride quality. This guide explains how to assess compatibility, prepare the necessary tools, and secure the basket so that it remains stable on rough terrain. Readers will learn why certain products simplify the process, how to avoid common pitfalls, and which adjustments keep the suspension performance intact. By following each step, cyclists will be able to transport groceries, gear, or a small pet while preserving the safety of the bike and the rider.
The information presented is based on real‑world product specifications and customer feedback from reputable sources. Although the guide recommends specific items, the techniques remain applicable with alternative hardware that meets the same criteria.
What You’ll Need
- Front basket compatible with suspension forks (e.g., Retrospec Apollo Bike Basket or Goroo Insulated Bike Basket)
- Allen key set (typically 4 mm, 5 mm, and 6 mm)
- Thread‑locking compound such as blue Loctite (optional but recommended)
- Measuring tape or ruler
- Protective gloves
- Plastic protective sleeves for hooks (often included with the basket)
Step 1: Verify Fork Clearance and Geometry
Before any hardware is attached, measure the distance between the handlebar stem and the front tire. Most front‑mount baskets require at least 9.8 inches of clearance; the Goroo Insulated Bike Basket explicitly states a minimum of 16 inches above the tire for safe installation. Use a measuring tape to confirm that the fork crown, brake calipers, and any fender mounts do not obstruct the basket’s mounting points. If the clearance is insufficient, consider a smaller basket or a rear‑mount solution.
Suspension forks often have a curved crown that reduces the available space for hooks. The half‑mesh design of the Retrospec Apollo Bike Basket mitigates this issue because the mesh section does not require a full‑width hook, allowing the basket to sit lower without contacting the fork.
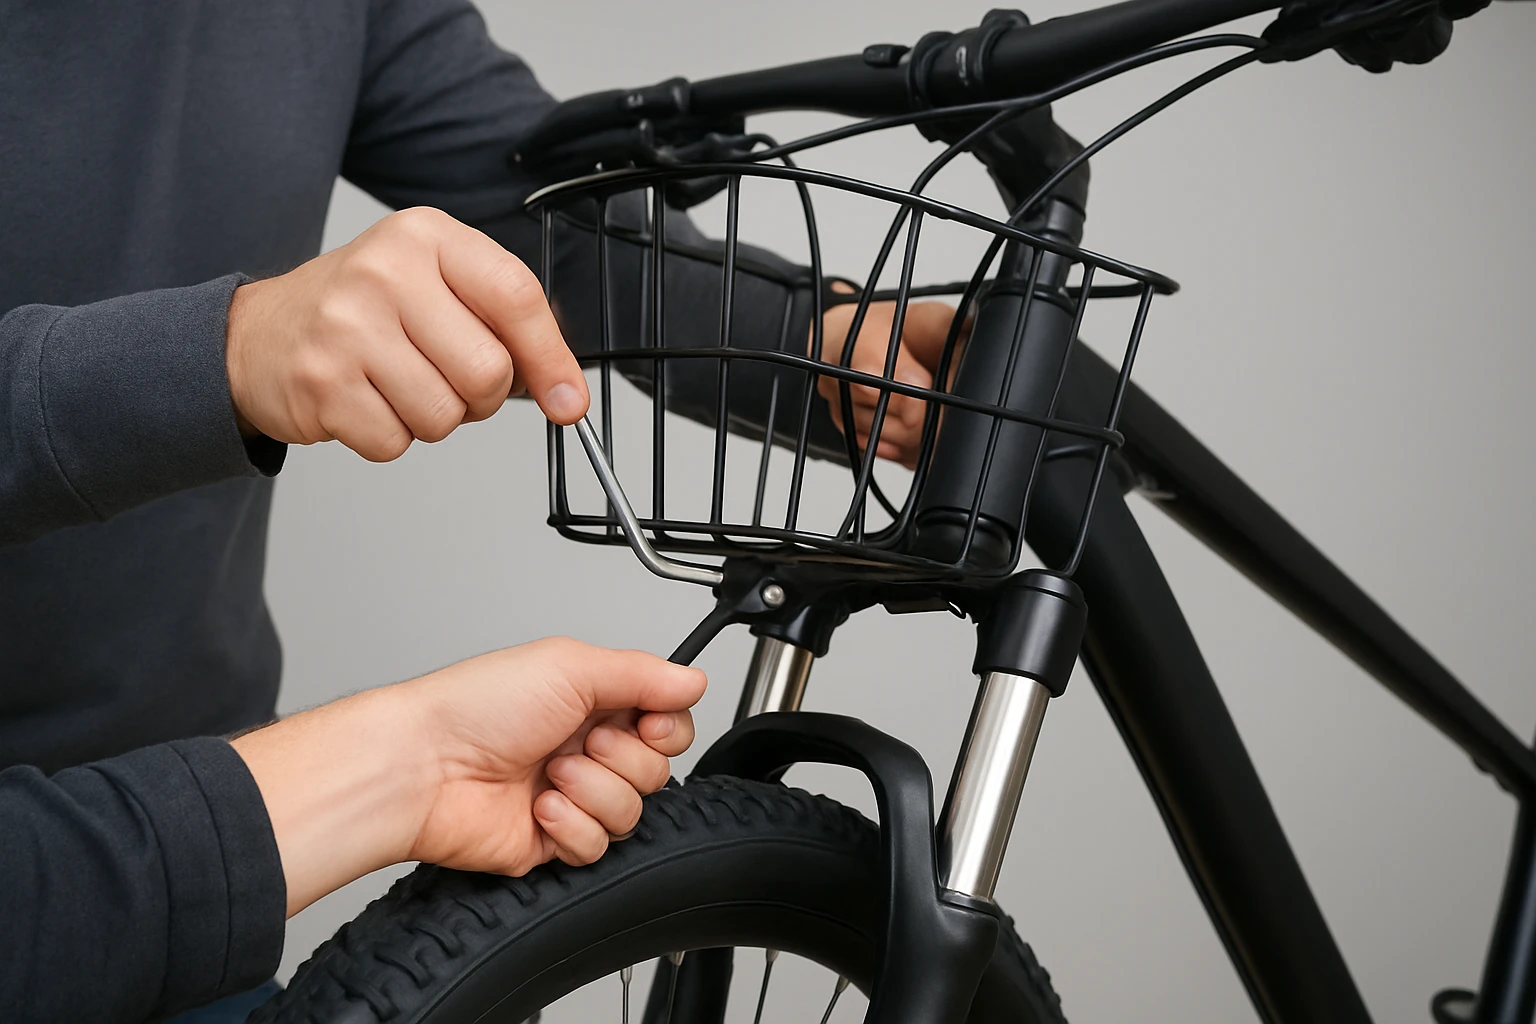
Step 2: Prepare the Hook Attachments
Most front baskets attach via integrated hooks that slide onto the handlebar stem or fork crown. Inspect the hooks for any sharp edges; the included plastic sleeves protect both the bike’s finish and the rider’s hands. Slip a sleeve over each hook before positioning the basket. If the basket does not include sleeves, purchase a set of rubber protectors from a bike shop.
Apply a thin layer of thread‑locking compound to the hook bolts if the manufacturer recommends it. This prevents the bolts from loosening due to vibration on uneven terrain. The Retrospec Apollo Bike Basket uses integrated hooks that are designed for tool‑free snap‑on installation, but adding Loctite adds an extra safety margin for aggressive riding.
Step 3: Position the Basket on the Fork
Slide the basket onto the fork crown, ensuring that the half‑mesh side faces upward to catch small items. Align the hooks with the stem or the fork’s mounting holes. For baskets that require a clamp, such as the Goroo Insulated Bike Basket, tighten the clamp until it is snug but does not compress the fork’s carbon fibers (if applicable). Over‑tightening can damage the fork and affect suspension performance.
Once the basket is seated, double‑check that the handles do not interfere with brake cables or the front derailleur. The ergonomic handles on the Retrospec Apollo Bike Basket fold away when not in use, reducing the risk of snagging.
Step 4: Secure the Mounting Hardware
Using the appropriate Allen key, tighten each bolt to the torque specification provided by the basket manufacturer—typically 4–6 Nm for aluminum brackets. Verify that the bolts are evenly tightened; uneven torque can cause the basket to tilt, leading to uneven load distribution and potential loss of control.
If the basket includes adjustable legs, such as the Wald 198 Front Bike Basket, set the leg height so that the basket sits level when the bike is upright. The Wald basket’s adjustable legs extend up to six inches, allowing fine‑tuning for different fork angles.
Step 5: Test Load Distribution and Ride Quality
Place a moderate load—approximately 5 lb for most baskets—into the basket and ride a short distance on smooth pavement. Pay attention to any wobble, steering pull, or unusual suspension response. If the bike feels unstable, loosen the bolts slightly and reposition the basket to achieve a more centered weight distribution.
For riders who intend to transport a pet, the Raymace Dog Bike Basket offers a dedicated tether and a maximum load of 11 lb. Test the tether with a lightweight dummy before loading a live animal to ensure that the basket remains secure.
Tips & Pro Tips
- Always inspect the basket’s mesh or fabric for tears before each ride; a compromised mesh can allow items to slip out.
- When riding on rough trails, keep the basket’s load low and centered to maintain the fork’s travel characteristics.
- Use a zip tie or Velcro strap to secure loose items inside the basket, especially when carrying groceries that may shift.
- Consider adding a reflective strip to the basket’s rim for increased visibility during night rides.
- If the basket interferes with the front brake lever, relocate the handlebar clamps slightly forward or use a shorter stem.
Troubleshooting
Problem: Basket wobbles after a few rides.
Solution: Re‑tighten all mounting bolts and verify that the protective sleeves are correctly positioned. Check for any bent hooks and replace them if necessary.
Problem: The basket contacts the front tire on suspension compression.
Solution: Reduce the basket’s height using adjustable legs or select a lower‑profile basket such as the Tfwadmx Folding Bike Basket, which folds flat when not in use.
Problem: Hooks scratch the handlebar finish.
Solution: Apply the supplied plastic tubing over each hook or use a thin layer of bike‑specific tape before installation.
Conclusion
Mounting a front basket on a suspension fork requires careful measurement, proper hardware preparation, and attention to load balance. By following the steps outlined above, cyclists can enjoy the convenience of a front‑mounted cargo solution without compromising safety or ride performance. The recommended products—such as the Retrospec Apollo Bike Basket and the Goroo Insulated Bike Basket—provide reliable attachment mechanisms, weather‑resistant construction, and user‑friendly features that streamline the installation process.
Readers are encouraged to assess their own bike geometry, select a basket that matches their intended use, and apply the pro tips for long‑term durability. A well‑installed front basket transforms a commuter bike into a versatile transport platform, ready for groceries, gear, or a small companion.
Products Mentioned in This Guide
Frequently Asked Questions
Can I install a front basket on any suspension fork?
Only forks with a straight, unobstructed crown and sufficient clearance are compatible; always check the manufacturer’s specifications.
What tools are required to mount a front basket on a suspension fork?
Typically you need Allen keys, a torque wrench, and any mounting brackets or adapters included with the basket.
How can I prevent the basket from affecting suspension performance?
Use a basket designed for suspension forks and tighten all bolts to the recommended torque, avoiding over‑tightening that can stress the crown.
Do I need a special bracket or adapter for a suspension fork?
Yes, most front baskets include a dedicated suspension‑fork bracket or you can buy a universal adapter that matches the fork’s diameter.
How often should I check the basket bolts after riding on rough terrain?
Inspect and retighten the bolts after every 50‑100 miles or whenever you notice any movement.