Introduction
When a rack basket fails during a field operation, the consequences can range from minor inconvenience to serious safety hazards. This guide explains how one can perform emergency repairs quickly, safely, and effectively, even when resources are limited. Readers will learn to assess damage, select appropriate tools, execute precise fixes, and adopt best‑practice safety measures. By following these instructions, one can restore functionality and prevent further deterioration without extensive downtime.
What You’ll Need
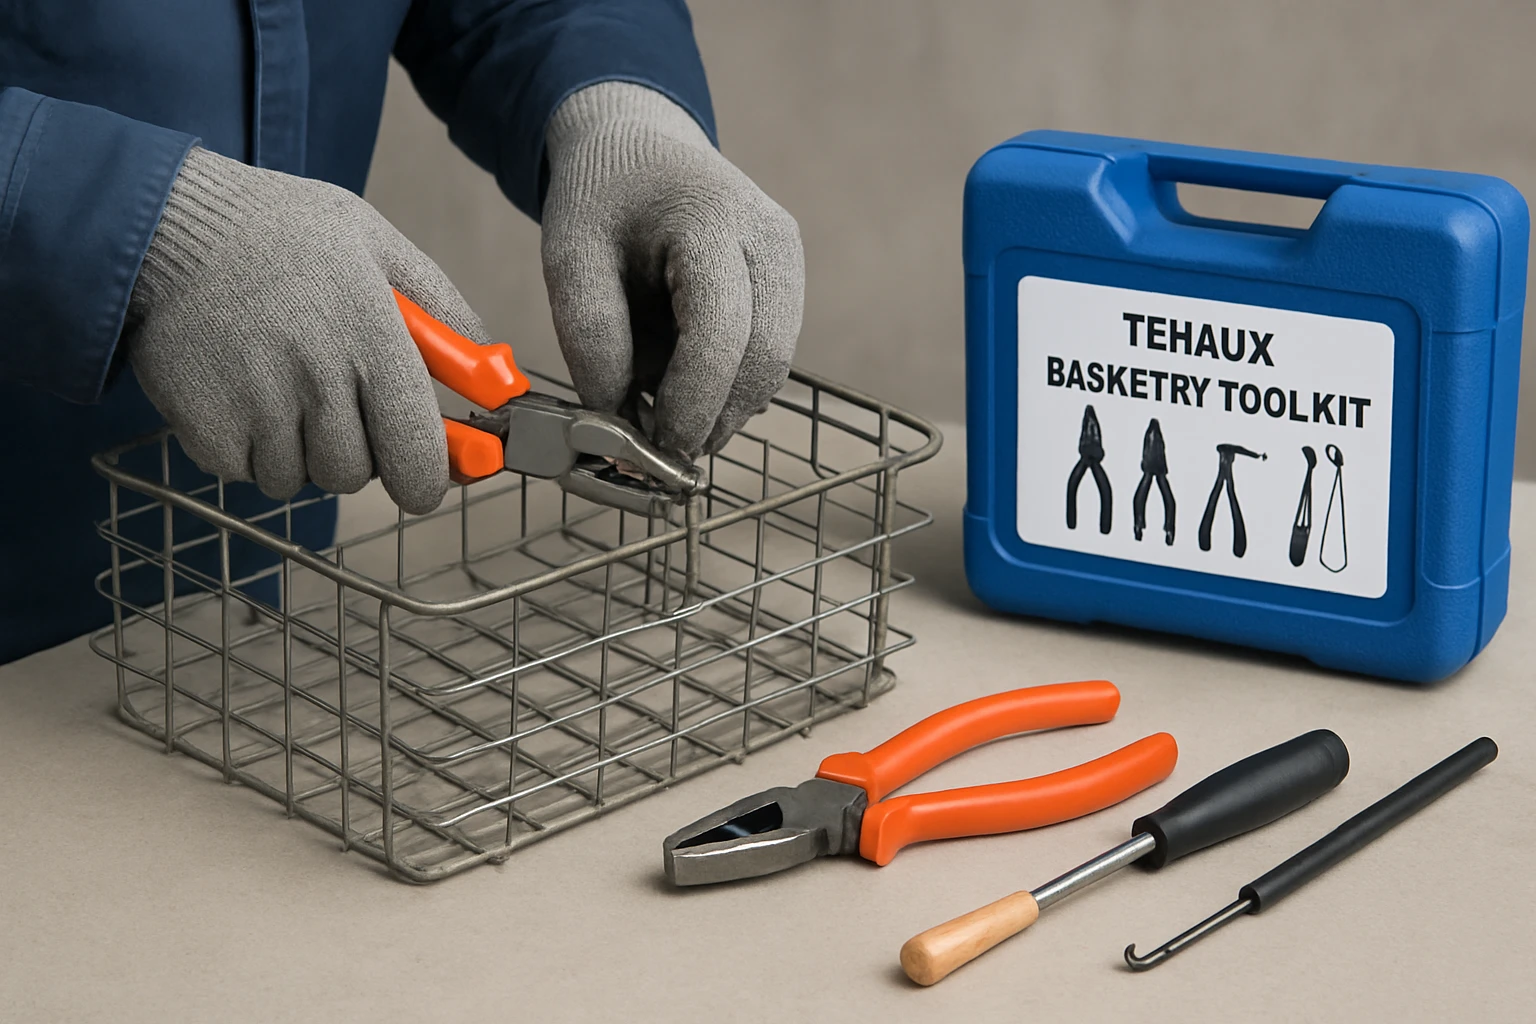
- TEHAUX Basketry Tool Kit – a compact set that includes a pry tool, small scissors, and additional weaving implements. TEHAUX Basketry Tool Kit
- Protective gloves and safety glasses
- Replacement rattan or wicker strips (if available)
- Heavy‑duty twine or nylon cord
- Measuring tape and marker
- Portable workbench or sturdy flat surface
Step 1: Assess the Damage
The first action is to conduct a visual inspection of the basket rack, noting broken weaves, split rattan, and any structural deformation. One should document the extent of damage with photographs or notes to guide the repair sequence. Identify whether the failure is localized to a single panel or affects the entire frame, as this determines the amount of material required. If the basket is supporting load, verify that the load is removed before proceeding to avoid accidental collapse.
Step 2: Gather and Prepare Tools
Having the right instruments at hand reduces repair time and improves precision. The TEHAUX Basketry Tool Kit is especially valuable because it combines a pry tool for separating tightly woven strands and small scissors for clean cuts. The kit is constructed from plastic and metal, offering durability while remaining lightweight for field transport. Its ergonomic design allows one to work in confined spaces without excessive hand fatigue.
Before use, clean each tool with a dry cloth to remove dust that could scratch the wicker fibers. Inspect the scissors for sharpness; a dull edge will tear rather than slice, compromising the repair quality. Arrange the tools on the portable workbench in the order they will be used, ensuring a smooth workflow.
Step 3: Secure the Rack and Create a Stable Work Area
Stability is essential to avoid accidental movement while cutting or weaving. Place the basket rack on a flat surface and, if possible, clamp the base using portable straps or a simple wooden block. Use protective gloves to grip the rack firmly, and wear safety glasses to shield the eyes from stray fibers. This step also prevents the rack from shifting when tension is applied to replacement strips.
Step 4: Remove Damaged Sections
Using the pry tool from the TEHAUX kit, gently separate the broken weave from the surrounding structure. Apply steady pressure to avoid further splitting of intact fibers. Once the damaged area is exposed, employ the small scissors to trim away frayed or cracked rattan pieces, cutting as close to the base as possible to preserve material.
Collect all removed fragments and set them aside; they can be repurposed for decorative accents if desired. Ensure that the cut edges are clean, as ragged ends can catch on new strands and cause future failures.
Step 5: Re‑weave and Reinforce
Measure the length of the gap left by the removed sections and cut a replacement rattan strip to match, allowing an extra centimeter for overlap. Insert the new strip into the existing weave using the pry tool to guide it through the surrounding fibers. The TEHAUX scissors assist in making precise adjustments, ensuring that the strip sits flush with adjacent strands.
After the strip is positioned, secure it by tightly winding heavy‑duty twine around the intersecting points. Pull the twine firmly but avoid over‑tightening, which could distort the basket’s shape. Finish the repair by trimming excess twine and smoothing the knot with the scissors.
Step 6: Test Load Capacity and Finish
Before returning the rack to regular service, conduct a load test by gradually applying weight equivalent to its normal use. Observe the repaired area for any signs of slipping or deformation. If the basket holds the load without movement, the repair is successful; otherwise, reinforce the weave with additional twine or a second replacement strip.
Finally, wipe the basket with a dry cloth to remove any debris, and store the TEHAUX Basketry Tool Kit in a dry pouch for future emergencies. Proper tool maintenance extends the lifespan of both the kit and the repaired basket.
Tips & Pro Tips
- Work in a shaded area to prevent the plastic components of the TEHAUX kit from becoming overly soft in direct sunlight.
- When cutting rattan, angle the scissors slightly to create a clean bevel rather than a blunt end.
- Use a piece of scrap fabric as a temporary backing while weaving new strips; this prevents fibers from slipping.
- For long‑term durability, apply a light coat of natural oil to the repaired area after the basket has dried.
- Keep a spare TEHAUX Basketry Tool Kit in a field kit; the price of $10.96 and rating of 4.7/5.0 make it a cost‑effective addition.
Troubleshooting
Problem: New strip loosens after a few hours.
Solution: Re‑tighten the twine using the pry tool to press the strip deeper into the weave, then add an extra loop of twine for reinforcement.
Problem: Scissors slip and tear the rattan.
Solution: Sharpen the scissors with a fine‑grain stone or replace them with a fresh pair from the TEHAUX kit.
Conclusion
Emergency rack basket repairs can be performed swiftly and safely when one follows a systematic approach and employs the right tools. By assessing damage, securing the work area, removing compromised sections, and re‑weaving with the TEHAUX Basketry Tool Kit, one restores structural integrity and extends the service life of the basket. Consistent use of safety equipment and adherence to the pro tips ensure that future failures are minimized. One is now equipped to handle field repairs with confidence and professionalism.
Products Mentioned in This Guide
Frequently Asked Questions
What are the first steps to safely assess damage on a broken rack basket in the field?
Perform a visual inspection while wearing gloves and safety glasses, identify broken weaves or split rattan, and note any loose components before starting repairs.
Which tools are essential for an emergency rack basket repair?
A compact basketry kit (pry tool, scissors), protective gloves, safety glasses, heavy‑duty twine or nylon cord, and a portable workbench are essential.
How can I replace a damaged rattan strip on a rack basket quickly?
Measure the missing section, cut a matching rattan strip, thread it through the existing weave using the pry tool, and secure it with twine knots.
What safety precautions should I follow while repairing a rack basket outdoors?
Wear protective gloves and safety glasses, secure the basket on a stable surface, and keep tools away from your body to prevent cuts or pinching.
Can I use nylon cord instead of traditional twine for temporary fixes?
Yes, nylon cord provides strong, weather‑resistant support and works well for temporary emergency repairs until proper materials are available.