How to Distribute Weight for Bike Shopping Loads: 10 Easy Tips for Safer, More Stable Rides
Introduction
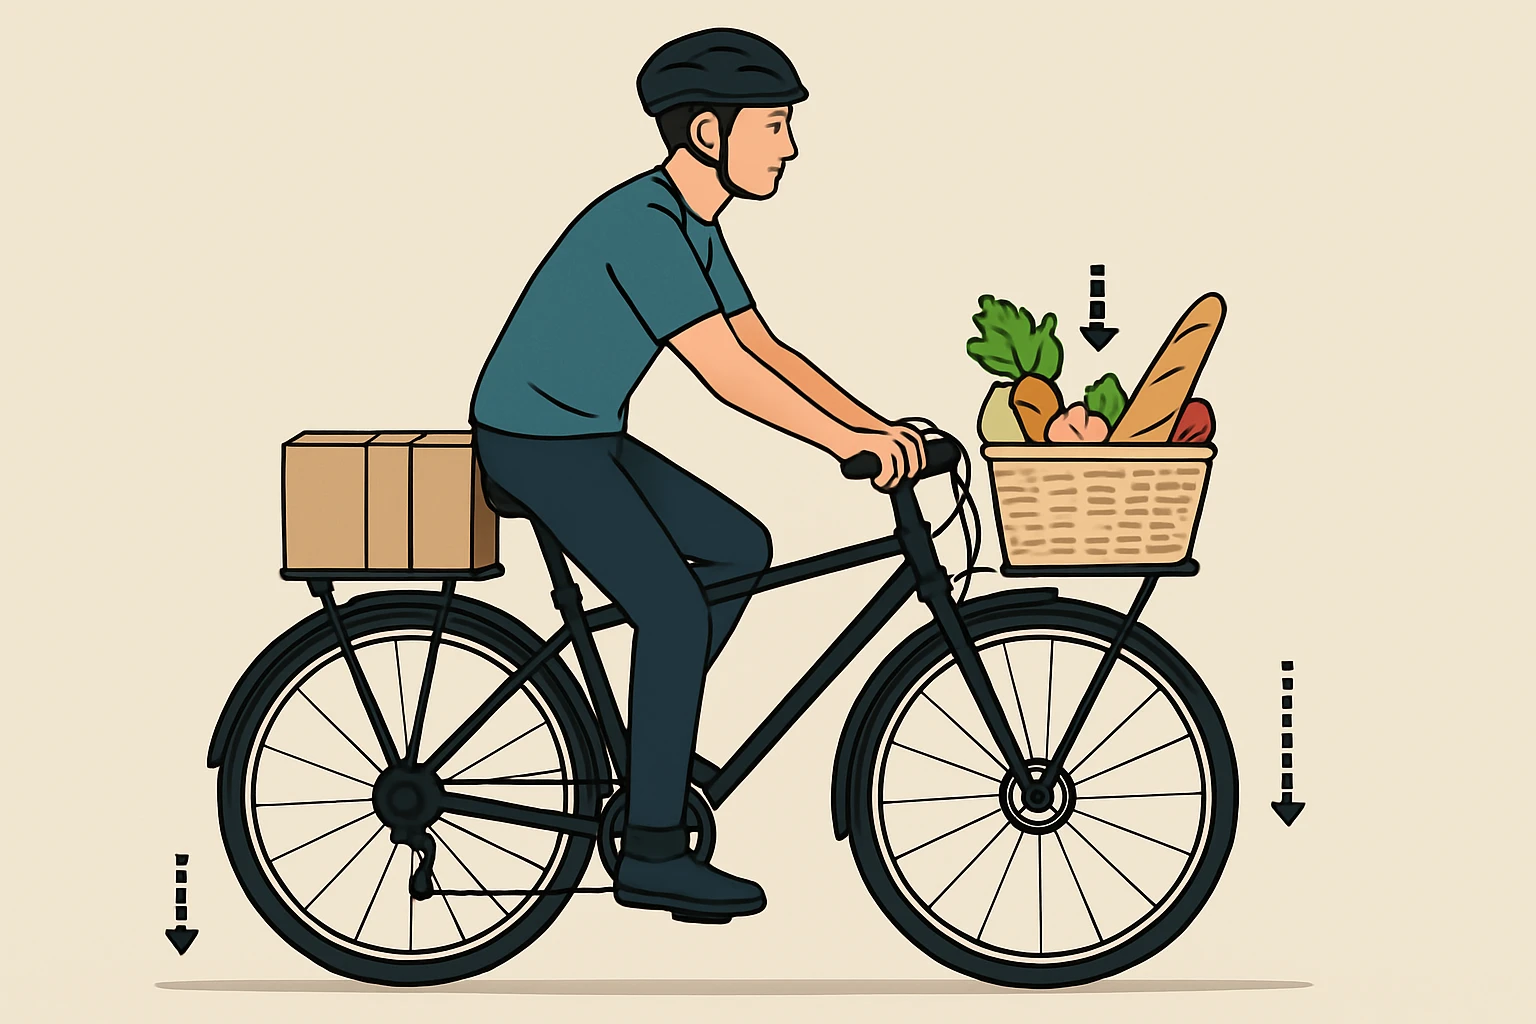
Balancing groceries and other cargo on a bicycle can feel like a physics experiment, yet it is a skill that any commuter can master with clear guidance. This guide will teach the reader how to distribute weight effectively, why proper balance matters for safety, and which tools simplify the process. By following the ten steps outlined below, one will experience smoother handling, reduced tire wear, and greater confidence on busy streets or quiet country lanes. The information presented is applicable to a wide range of bicycles, from lightweight road machines to sturdy mountain frames.
Weight distribution is not merely a matter of convenience; it directly influences braking performance, cornering stability, and the longevity of drivetrain components. When cargo is packed haphazardly, the centre of gravity shifts, causing the bike to pull to one side, increasing the risk of accidents. Understanding how to position items, select appropriate panniers, and secure loads will transform everyday shopping trips into efficient, low‑stress rides.
What You’ll Need
- KLERICER Waterproof Bike Pannier Bag – 30 L capacity, rain‑proof 600D Oxford fabric, reflective trim, $19.89, 3.7‑star rating.
- MOSISO Waterproof Bike Panniers – 20 L each (2‑pack), quick‑release buckles, $47.49, 4.3‑star rating.
- TOURBON Canvas Cycling Pannier Bag – 24 L total, obtuse‑angle design, $89.99, 4.4‑star rating.
- Marscamd Bike Panniers 50L – expandable to 50 L, rain cover, $41.99, 4.6‑star rating.
- ROCKBROS Rear Bike Cargo Rack – 165 lb capacity, quick‑release, $35.99, 4.5‑star rating.
- Adjustable strap set (optional for extra security)
- Lightweight folding stool for loading heavy items safely
- Water bottle and basic repair kit (spare tube, tire levers, multi‑tool)
Step 1 – Choose a Stable Rear Rack
The foundation of safe weight distribution begins with a robust rear rack that can support the intended load without flexing. A rack such as the ROCKBROS Rear Bike Cargo Rack offers a maximum capacity of 165 lb, quick‑release clamps, and an integrated reflector for night‑time visibility, making it an excellent choice for grocery trips. Its adjustable mounting points ensure compatibility with most frame geometries, and the included elastic band secures items that might otherwise shift during acceleration or braking.
Selecting a rack with a high load rating prevents structural fatigue, especially when the rider frequently carries heavy produce or bulk items. The quick‑release design also simplifies removal for storage, a convenience that encourages regular use. When installing the rack, verify that the clamps are tightened evenly and that the rubber inserts are positioned to protect the frame paint.
Step 2 – Select the Right Pannier Size
Once the rack is securely attached, the next decision concerns pannier capacity. For short urban errands, the MOSISO Waterproof Bike Panniers provide 20 L per bag, a total of 40 L, and feature a flap‑closure design that resists rain while allowing quick access. Their metal hooks and quick‑release buckles reduce installation time, a benefit for riders who load and unload several times per week.
For longer trips or larger grocery hauls, the KLERICER Waterproof Bike Pannier Bag offers 30 L of total space across two side compartments, each with medium and small pockets for tools, phones, and small accessories. The reflective strip enhances visibility, while the laminated waterproof zippers keep contents dry in heavy showers. The choice between a 20 L or 30 L solution should be guided by the typical load weight and frequency of use.
Step 3 – Position Heavy Items Low and Central
Weight should be placed as low as possible to maintain a low centre of gravity, which improves handling on uneven pavement. Heavy grocery items such as canned goods, bottles of milk, or bulk rice should be positioned in the lower pockets of the selected pannier, or directly against the rack if the bag includes an expandable compartment like the Marscamd Bike Panniers 50L. The Marscamd model features an extendable main compartment and inner leak‑proof pockets, allowing the rider to store wet items separately without compromising balance.
When loading, place the heaviest objects closest to the bike’s centreline, avoiding a lopsided distribution that could cause the bike to pull to one side during turns. This principle mirrors the way a truck driver loads cargo, ensuring that the load is symmetrical and centered over the rear axle.
Step 4 – Use Side Mesh and Small Pockets for Light Items
Lightweight accessories such as gloves, repair tools, and a water bottle should occupy the side mesh pockets or small external compartments. The KLERICER Waterproof Bike Pannier Bag includes side mesh pockets that provide quick access without having to open the main zippered area. This arrangement prevents the bag from becoming top‑heavy, which could affect steering precision.
Distribute these lighter items evenly between the left and right sides to maintain lateral balance. The mesh design also allows for ventilation, reducing moisture buildup on items such as a spare jacket or raincoat.
Step 5 – Secure the Load with Straps or Buckles
Even with a well‑designed pannier, items may shift during vigorous riding or when navigating bumps. The Marscamd Bike Panniers 50L come with external webbing straps and D‑rings that enable the rider to tie down larger packages securely. Additionally, the ROCKBROS Rear Bike Cargo Rack includes an elastic band designed for extra stability, preventing the panniers from flapping in strong winds.
When fastening straps, pull them snugly but avoid over‑tightening, which could damage the fabric or impede the bag’s ability to expand when needed. Periodically check the tension after the first few rides to ensure that the straps have not loosened.
Step 6 – Balance the Load Front‑to‑Rear
While the rear panniers carry the majority of the cargo, a small amount of weight on the front fork can improve steering response, especially when the rear load is substantial. A lightweight front bag or a simple frame‑mounted bottle holder can provide this counter‑balance. The TOURBON Canvas Cycling Pannier Bag includes a top hand strap that can be folded and attached to the front tube if needed, offering a versatile solution for riders who prefer a balanced feel.
Test the bike’s handling after loading by riding at a moderate speed in a safe area. If the bike feels sluggish when turning, shift a few lighter items from the rear to the front until the steering feels responsive.
Step 7 – Adjust Tire Pressure for Added Load
Carrying extra weight increases the demand on the tires, making proper inflation essential for safety and efficiency. Inflate the rear tire to a pressure 5–10 psi higher than the manufacturer’s recommended value for solo riding, while maintaining the front tire at its standard pressure. This adjustment reduces the risk of pinch flats and improves rolling resistance.
Use a reliable floor pump with a built‑in gauge to achieve accurate pressure. Regularly check tire pressure before each shopping trip, as temperature fluctuations can cause pressure loss, especially after a rainy ride.
Step 8 – Load Items in Order of Use
Strategically arranging items based on how frequently they will be accessed streamlines the shopping experience. Place items needed immediately, such as a reusable grocery bag or a water bottle, in the top compartment of the pannier or in the side mesh pocket. Reserve the lower compartment for items that will remain untouched until the end of the trip, such as bulk staples or frozen goods.
This method mirrors the organization of a kitchen pantry, where frequently used ingredients are stored at eye level, reducing the time spent searching and minimizing the need to unload the entire bag to retrieve a single item.
Step 9 – Perform a Safety Check Before Riding
Prior to departing, conduct a brief inspection to verify that all straps are tightened, zippers are fully closed, and the rack is still firmly attached to the frame. Ensure that reflective strips on the panniers and rack are clean and unobstructed, as they contribute to visibility in low‑light conditions.
Check that the load does not exceed the combined weight rating of the rack and panniers. For example, the KLERICER Waterproof Bike Pannier Bag is designed for typical commuter loads; exceeding its capacity may cause premature wear of the laminated zippers.
Step 10 – Ride with Adjusted Braking Technique
When the bike carries additional weight, braking distances increase, particularly on wet surfaces. Apply the front brake gently and use the rear brake progressively to avoid wheel lockup. The reflective strip on the KLERICER Waterproof Bike Pannier Bag and the built‑in reflector on the ROCKBROS Rear Bike Cargo Rack enhance visibility, allowing motorists to anticipate the bike’s movements.
Practice braking in a safe, open area with a loaded bike before tackling busy streets. This practice builds confidence and helps the rider develop a feel for the altered handling dynamics caused by the added cargo.
Tips & Pro Tips
- Use a folding stool to lift heavy grocery bags onto the pannier, reducing strain on the back and shoulders.
- Apply a waterproof spray to canvas panniers such as the TOURBON Canvas Cycling Pannier Bag to enhance water resistance during unexpected rain.
- Carry a small multi‑tool in the side pocket for on‑the‑go adjustments to straps or quick‑release buckles.
- Periodically rotate the panniers left‑right to equalize fabric wear and prevent permanent deformation.
- When riding on steep descents, shift the load slightly forward to prevent the rear wheel from lifting.
Troubleshooting
Problem: Pannier bag rattles or flaps while riding.
Solution: Tighten the external webbing straps, add a secondary elastic band from the ROCKBROS Rear Bike Cargo Rack, and ensure that the bag is fully zipped. If the problem persists, consider using a bag with a built‑in rain cover such as the Marscamd Bike Panniers 50L, which includes additional straps for stability.
Problem: Load feels uneven after a few rides.
Solution: Re‑evaluate the placement of heavy items, ensuring they are centered and low. Use the side mesh pockets to balance lighter objects, and adjust strap tension as needed.
Conclusion
Distributing weight for bike shopping loads does not require specialized knowledge, only a systematic approach that respects the principles of balance, secure attachment, and appropriate equipment. By following the ten steps presented, the rider will experience improved handling, reduced wear on components, and greater safety on every trip. The recommended products—panniers, rack, and accessories—serve as reliable tools that simplify the process, yet the core techniques remain effective even without them. Embrace these practices, and transform routine grocery runs into smooth, enjoyable rides that promote a healthier lifestyle and a greener environment.
Products Mentioned in This Guide
Frequently Asked Questions
Why is proper weight distribution important for bike shopping loads?
It keeps the centre of gravity balanced, improving braking, cornering stability and reducing wear on tires and drivetrain.
Where should the heaviest items be placed on a bicycle?
Place the heaviest items low and near the bike’s centre, preferably in the middle of the rear rack or a front pannier close to the handlebars.
How many panniers are optimal for a stable load?
Two panniers—one on each side—help keep the load symmetrical and prevent the bike from pulling to one side.
What simple tools can help secure cargo while riding?
Use straps, bungee cords, or lockable zip‑ties to fasten bags and prevent shifting during stops and turns.
Can weight distribution affect braking performance?
Yes, an uneven load can cause one wheel to lock or skid earlier, so a balanced load ensures consistent braking on both wheels.