How to Install a Retrofit Rack on Disc‑Brake Thru‑Axle Bikes: Compatibility, Adapters & Step‑by‑Step Guide
Introduction
Retrofit racks provide cyclists with the ability to transport cargo without sacrificing the performance of a dedicated touring frame. This guide explains the technical considerations for mounting a rack on disc‑brake, thru‑axle bicycles, outlines the role of adapters, and delivers a detailed installation procedure. Readers will discover how to evaluate compatibility, select appropriate products, and avoid common pitfalls that can compromise safety. By the end of the article, one will possess the knowledge required to equip a modern bike with a reliable cargo solution.
Background and Context
Disc‑brake systems have become the standard for mountain, gravel, and increasingly, road bicycles because they deliver consistent stopping power in all weather conditions. Unlike traditional quick‑release axles, thru‑axles use a larger diameter and a longer spindle, which improves stiffness but also changes the geometry of the rear dropouts. These geometric changes affect the mounting points for rear racks, often requiring additional hardware to achieve a secure fit. Understanding the interaction between the axle type, disc‑brake caliper clearance, and rack eyelets is essential before attempting any installation.
Understanding Disc‑Brake Thru‑Axle Compatibility
The primary challenge when fitting a rack to a thru‑axle bike is the reduced horizontal space between the axle and the rear dropout. Many traditional racks were designed for 135 mm quick‑release spacing and assume a narrow axle profile. Modern racks that claim compatibility with disc‑brake systems typically incorporate reinforced mounting plates and wider spacing allowances. When evaluating a rack, verify that the manufacturer lists support for 142 mm (Boost) or 148 mm (Super Boost) thru‑axle standards.
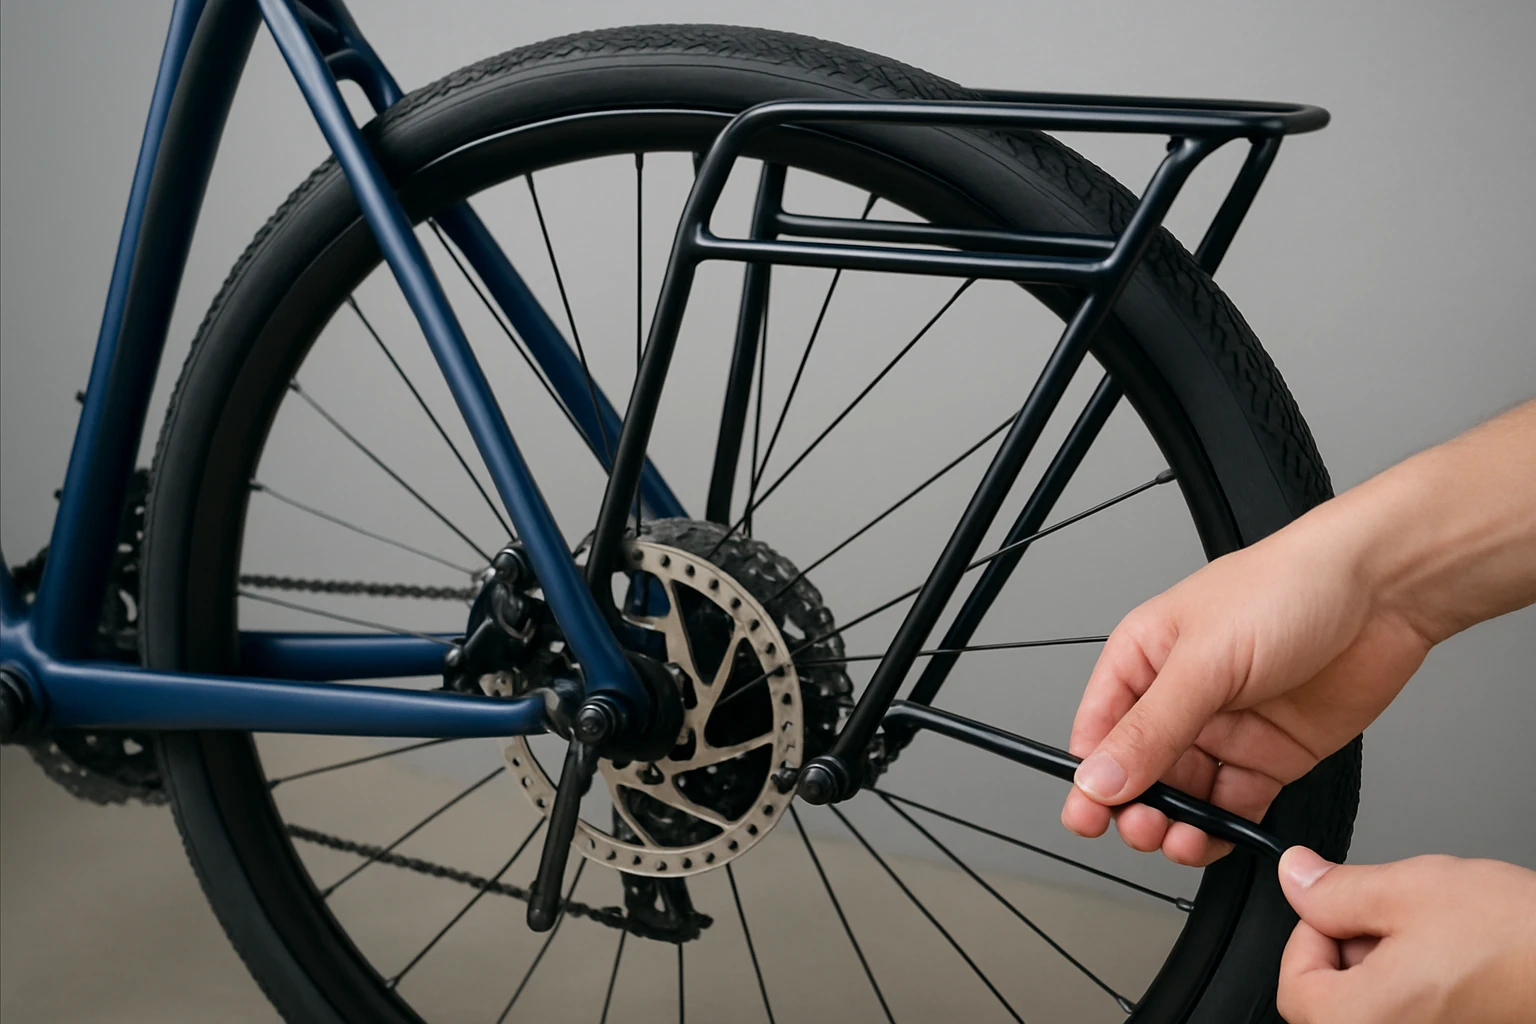
Another factor is the disc‑brake caliper’s position relative to the rear dropout. Some frames place the caliper behind the dropout, which can obstruct the rack’s rear eyelet. In such cases, an adapter that repositions the rack’s mounting points away from the caliper is required. The adapter must be machined precisely to avoid introducing wobble during riding.
Load distribution is also critical. Thru‑axle frames often have a stiffer rear triangle, allowing higher cargo weights, but the rack’s mounting hardware must be robust enough to transfer forces without damaging the frame. Look for racks that feature reinforced stays, stainless‑steel hardware, and padded contact surfaces that protect paintwork.
Product Recommendation: Allen Deluxe 3‑Bike Trunk Carrier
For cyclists who prefer a trunk‑mounted solution rather than a traditional rear rack, the Allen Deluxe 3‑Bike Trunk Carrier offers a simple, sturdy design that fits most sedans, hatchbacks, minivans, and SUVs. Although not a bike‑mounted rack, its padded lower frame protects the vehicle and its individual tie‑downs secure bicycles during transport. The carrier is fully assembled, installs in seconds, and folds flat for storage, making it an excellent complement for long‑distance touring where multiple bikes must be carried.
Selecting the Right Retrofit Rack
When choosing a retrofit rack, prioritize the following criteria: axle compatibility, load capacity, material durability, and ease of installation. Aluminum racks provide a balance of strength and weight, while steel racks offer maximum durability at the cost of additional mass. Load capacity should exceed the intended cargo weight by at least 20 percent to accommodate dynamic forces during cornering and braking.
Consider the mounting style as well. Some racks attach directly to the rear dropout using bolts that thread into the frame; others use a clamp that wraps around the axle. Direct‑bolt designs generally provide a more rigid connection, but they require precise alignment and may void warranty if not installed correctly. Clamp‑style racks are easier to install on a variety of frames but can introduce slight flex if the clamp is not tightened adequately.
Finally, evaluate the accessory ecosystem. Racks that support a range of pannier, basket, and child seat attachments increase versatility. Compatibility with popular adapter systems, such as the Saris Thru‑Axle Adapter, further expands the range of trainers and accessories that can be used without permanent modifications.
Product Recommendation: Saris Bike Trainer Thru‑Axle Adapter
The Saris Bike Trainer Thru‑Axle Adapter converts 12 mm thru‑axle bicycles for use with most rear‑mount indoor trainers. Its precision‑machined clamping surface provides a secure, wobble‑free fit, while the durable construction withstands intense training sessions. Installation requires no permanent modifications, allowing cyclists to switch between outdoor riding and indoor training effortlessly.
Using Adapters to Bridge Compatibility Gaps
Adapters serve as the mechanical interface between a rack designed for quick‑release axles and a bike equipped with a thru‑axle. The adapter typically replaces the rear axle’s quick‑release skewer with a longer, thicker spindle that matches the rack’s mounting holes. It is essential to select an adapter that matches the exact axle diameter (e.g., 12 mm) and the frame’s Boost or Super Boost spacing.
Installation of an adapter involves removing the rear wheel, unscrewing the existing axle, and inserting the adapter in its place. The adapter must be torqued to the manufacturer’s specifications to avoid loosening during high‑torque climbs. Once installed, the rack can be mounted using the adapter’s built‑in eyelets, which align with the rack’s mounting brackets.
In addition to the Saris adapter, cyclists may encounter specialized adapters for specific brands or custom frames. When selecting an adapter, verify the product’s rating and review count to ensure reliability. The Saris adapter, for example, has received positive feedback for its secure fit and ease of use.
Step‑by‑Step Installation Guide
The following procedure outlines the installation of a retrofit rack on a disc‑brake, 12 mm thru‑axle bike using an adapter. All tools required are listed in the accompanying table.
| Tool | Purpose |
|---|---|
| Hex key set (4 mm, 5 mm) | Loosen and tighten axle bolts |
| Torque wrench | Apply manufacturer‑specified torque |
| Allen wrench (5 mm) | Secure rack mounting bolts |
| Rubber mallet | Seat adapter without damaging frame |
1. Shift the drivetrain into the smallest chainring and rear cog, then remove the rear wheel by loosening the thru‑axle bolts with a 5 mm hex key. 2. Insert the Saris Bike Trainer Thru‑Axle Adapter into the dropout, aligning it with the frame’s Boost spacing. 3. Tighten the adapter’s axle bolts to the torque value specified by the adapter manufacturer, typically 8–10 Nm. 4. Position the retrofit rack so that its mounting eyes sit flush against the adapter’s eyelets and the frame’s rear dropout.
5. Secure the rack using the supplied stainless‑steel bolts, tightening each to 5–6 Nm with a torque wrench. 6. Re‑install the rear wheel, ensuring the disc‑brake rotor clears the caliper and the axle bolts are torqued to the frame’s recommended specification (often 12–15 Nm). 7. Verify that the rack is level and that the brake caliper does not rub against the rotor when the wheel is spun.
8. Load a modest weight onto the rack and perform a short test ride, listening for any creaking or shifting. 9. After the test ride, re‑check all bolts for any loss of torque and adjust as necessary. 10. Finally, apply a thin layer of anti‑seize compound to the axle threads to facilitate future removal.
Comparison and Selection Guide
The table below compares the three featured products based on price, rating, and key attributes relevant to a retrofit rack setup.
| Product | Price | Rating | Key Attributes |
|---|---|---|---|
| Allen Deluxe 3‑Bike Trunk Carrier | $67.50 | 4.4/5 (47,498 reviews) | Padded frame, fully assembled, folds flat, vehicle‑protective straps |
| Saris Bike Trainer Thru‑Axle Adapter | $59.99 | Not listed | 12 mm compatibility, precision‑machined, no permanent modifications |
| DT Swiss Front 12x100mm Thru‑Axle | $58.05 | 4.3/5 (68 reviews) | RWS plug‑in design, high‑strength construction, limited stock |
When selecting a product, consider the primary use case. If the goal is to transport multiple bicycles on a car, the Allen carrier provides the most convenient solution. For indoor training conversion, the Saris adapter is indispensable. For front‑axle upgrades or custom builds, the DT Swiss thru‑axle offers precise engineering and durability.
Best Practices & Tips
- Always verify axle spacing (Boost vs. Super Boost) before purchasing a rack or adapter.
- Use thread‑locking compound on all bolts that are subject to vibration.
- Check disc‑brake clearance after installing the rack; a misaligned caliper can cause rubbing and heat buildup.
- Periodically inspect the padded contact surfaces for wear and replace them to prevent frame damage.
- When loading cargo, keep the weight centered over the bike’s center of gravity to maintain handling stability.
Frequently Asked Questions
Can I install a rear rack on a bike with a 12 mm thru‑axle without an adapter?
Most rear racks designed for quick‑release axles require an adapter to align with the larger spindle diameter. Some manufacturers now produce racks with built‑in thru‑axle compatibility, but those are less common.
Will a rack interfere with the disc‑brake rotor?
If the rack’s rear eyelet sits too close to the rotor, it may cause contact during wheel rotation. Selecting a rack with a wider mounting spread or using an adapter that offsets the eyelet can prevent interference.
Do I need to remove the disc‑brake caliper to install a rack?
In most cases, the caliper can remain installed. However, if the rack’s mounting hardware conflicts with the caliper mount, temporary removal may be necessary.
How often should I re‑torque the rack bolts?
It is advisable to re‑torque all rack bolts after the first 20‑30 km of riding, then perform a check every 200 km or after any hard impact.
Can I use the Allen trunk carrier for road trips with a bike that has disc brakes?
Yes, the carrier is vehicle‑mounted and does not interact with the bike’s brake system. Ensure the bike’s rear wheel is secured with the carrier’s tie‑downs.
Conclusion
Installing a retrofit rack on a disc‑brake, thru‑axle bicycle requires careful attention to axle standards, brake clearance, and load distribution. By selecting compatible hardware such as the Saris Bike Trainer Thru‑Axle Adapter and following the step‑by‑step procedure outlined above, cyclists can achieve a secure, durable cargo solution. Regular maintenance, proper torque settings, and adherence to best‑practice guidelines will ensure long‑term reliability and safe riding performance.
Products Featured in This Guide

Allen Deluxe 3‑Bike Trunk Carrier
Price: $67.50
Rating: 4.4/5 (47,498 reviews)
Featured because it provides a vehicle‑mounted alternative for cyclists who need to transport multiple bikes, complementing bike‑mounted rack solutions.

Saris Bike Trainer Thru‑Axle Adapter
Price: $59.99
Rating: Not listed
Featured because it bridges the compatibility gap between 12 mm thru‑axle bikes and rear‑mount trainers, enabling indoor training without permanent frame alterations.

DT Swiss Front 12x100mm Thru‑Axle
Price: $58.05
Rating: 4.3/5 (68 reviews)
Featured because it exemplifies precision‑machined thru‑axle technology, offering cyclists a reliable front‑axle upgrade that aligns with the guide’s focus on robust hardware.
Frequently Asked Questions
Can I mount a standard rear rack on a disc‑brake thru‑axle bike?
Only if the rack is compatible with the wider dropout spacing or you use a specific adapter designed for thru‑axle frames.
What adapters are needed for installing a retrofit rack on a thru‑axle bike?
Adapters that convert the 12 mm (or 15 mm) thru‑axle spacing to the 135 mm or 142 mm rear dropout width required by most racks.
Do I need to adjust the disc‑brake caliper when installing a rack?
No, the rack and adapters attach to the dropout area and do not interfere with the brake caliper alignment.
Is it safe to carry heavy loads on a retrofit rack fitted to a disc‑brake bike?
Yes, provided the rack is rated for the load, correctly installed with adapters, and the bike’s rear axle and spokes are in good condition.
What are common pitfalls when installing a retrofit rack on a thru‑axle bike?
Forgetting the adapter, using a rack with incompatible spacing, and overtightening bolts which can stress the dropouts or axle.